Since the display is primary output device in any computer, having a broken display is less than ideal. To diagnose and fix this problem, the most sensible action you can take is to get professional help. However, before you do that, there are a few things you could try and we are here to assist you. Let us look at why your computer screen could be broken and the corresponding remedies in the article below.
Reasons For a Broken Display
Display is Artifacting
Display artifacting usually manifests itself as weird textures and washed-out colors. You might see flickering lines along some part of the screen. This could occur suddenly and without prior cause. Although this could also occur due to physical damage on the panel, it is better first to assume that there is a problem with either the driver or the GPU first. Minor problems such as corrupted drivers, GPU overclocking, or inadequate cooling, which are probable causes of display artifacting, can be resolved more easily than repairing a broken panel. Thus, if your problem lies with a faulty driver or GPU, we recommend you first try troubleshooting for display artifacting.
Check for Loose Display Cable
If your laptop screen works only in certain positions, then the display cable is probably loose or damaged. This happens because the display cable runs through the laptop hinge. Repeated opening and closing of the screen can damage the cable or make the connection come loose. In such a case, you must either reseat the cable connector securely or replace it.
Check the Display Cable on the Motherboard
Check the Display Cable on the Screen
Reassembling the Screen
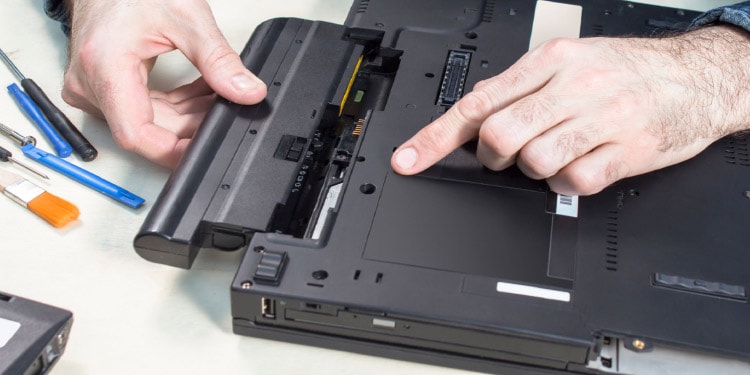
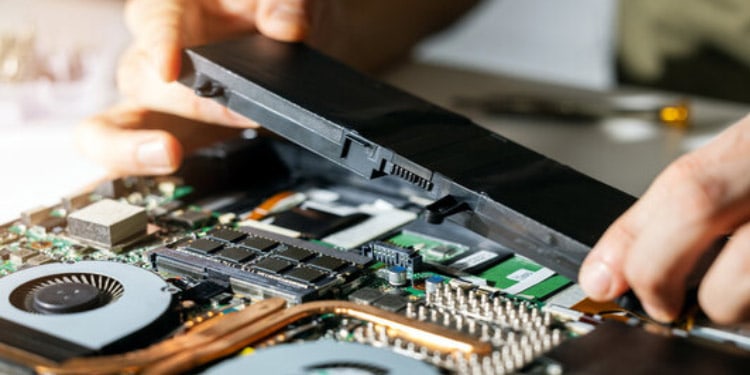
Replace a Broken Laptop Screen
If you’ve already tried fixes with drivers or GPU, and you’ve verified that the display has indeed been damaged by checking with a second monitor, then your recourse in this instance is probably to get a replacement panel. Again, we strongly recommend that you either get professional help or contact your manufacturer to get this done. However, if you insist on getting the laptop panel replaced yourself, here are the steps you need to follow to complete this successfully.
Get the Correct Replacement Panel
Ideally, you will need to obtain the exact same panel as the one you are replacing. On the surface, it might look like obtaining a replacement screen of the same size and aspect ratio would be fine. However, that could not be further from the truth. Factors such as screen resolution and refresh rate matter for the replacement screen because if your device does not support the output, then your replacement screen will not work. Further, connector pin compatibility and the shape and location of mounting brackets can prevent you from installing the screen at all. To get the correct replacement panel, you can contact your manufacturer with the make and model of your laptop. You might even find the correct replacement panel by entering the make and model of your laptop in the search bar of online retailers. Before placing a purchase order, verify that you are getting the correct component by checking with multiple sources.
Replace the Panel
Once you have obtained the correct replacement panel, you will need to take out the old panel and install the new one. Please follow the procedure outlined above to open your laptop’s screen, remove the bezel and remove the old panel. Thereafter, insert the display cable on the replacement panel and align it with the mounting bracket. Fasten the screws that hold the panel in place. Reinstall the bezel. Power up the laptop and see if the screen is working properly.