There are even some applications that allow you to store your installation data on a secondary drive but still place temporary or cache files on the primary drive. For anyone interested in keeping their primary drive nice and tidy, this can be a major issue. Spotify is one of the many Windows applications that you’ll eventually find taking up a whole mess of space. This is due to the way Spotify locally caches your data so that you aren’t constantly re-streaming music off of their servers. It serves as a way for Spotify to save bandwidth and instantly deliver your music without needing to buffer. However, this comes at a price for those of us trying to save precious disk space. Not everyone can afford to have several gigabytes of local Spotify data on their primary drive, and the good news is that there’s a way around it. Let’s talk about how you can move Spotify’s local cache data to a new location within Windows.
How to Change the Location of
Spotify Data in Windows
To perform this task, we’re going to use something called a symbolic link or directory junction. A directory junction effectively creates a mirror of your data at one file path but actually stores the data in another.
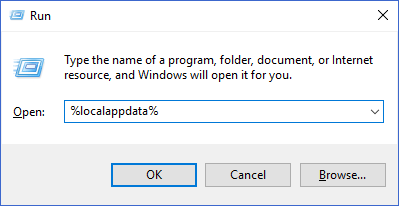
The first thing we’re going to need to do is to find exactly where our Spotify’s data folder actually is. To do so, press the Windows + R keys to bring up a Run prompt. Here, type in “%localappdata” and press Enter.
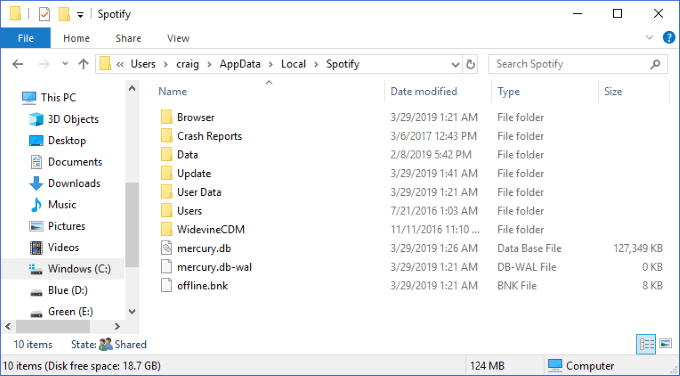
This should bring up a Windows Explorer window of the AppData\Local folder within your Windows user profile location. In this list of files, find the Spotify folder and open it.
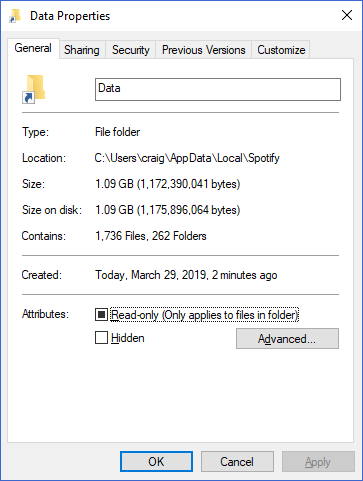
The Data folder within is what contains all of your cached music data. You may want to right-click on it and select Properties to see how large this folder is. Is it so big that you’d like to move it off of your current drive and onto another? Great! That’s what we’re going to do next.
The first step is to be sure that Spotify is not currently running on your machine. After making sure that it’s closed, you want to select the Data folder and press the Ctrl + C keys to copy it.
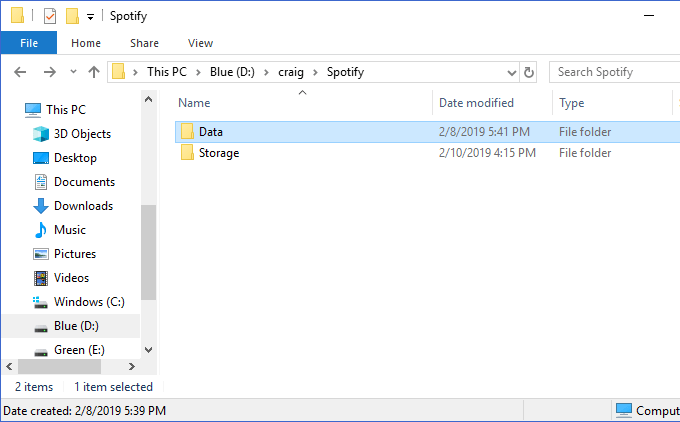
Next, bring up a second Windows Explorer window of the location where you want to move your Spotify data. At that location, press Ctrl + V to paste the folder.
Above, you can see that I’ve created a new location to store my data at D:\craig\Spotify. The pasted Data folder here contains the contents of that same folder in C:\Users\craig\AppData\Local\Spotify.
Next, be sure that the two folders are identical. Look inside both of them to see that you’ve fully copied all of the files properly. Once complete, go back to the original Spotify folder location (in our first Windows Explorer window at AppData\Local), select the Data folder that we just copied, and hit the Delete key to delete it.
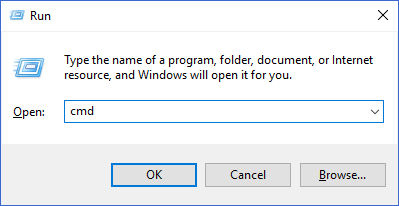
Next, we’re going to create a directory junction so that your new Data folder points to where the old one once was. To do so, press the Windows + R keys to again bring up the Run prompt. Type in “cmd”, but be sure to press Ctrl + Shift + Enter (instead of just Enter)—this runs the prompt as Administrator.
This is where we’ll begin to create our directory junction. You want to type in the following command: mklink /j
